Setting up a Rails Development Environment on Windows
I recently had to setup my Rails development environment on my laptop (running Windows 7). I’m going to briefly run through the different applications I use when developing on a Windows environment.
InstantRails
Instant Rails is a one-stop Rails runtime solution containing Ruby, Rails, Apache, and MySQL, all pre-configured and ready to run. There is no installer, you simply drop it into the directory of your choice and run it.
In my opinion there is simply no easier way to get started with Rails.
E – TextEditor
TextMate seems to be the editor of choice if you’re developing Rails on a Mac. There doesn’t seem to be a clear favourite for Windows – I prefer to use E – TextEditor. When I started playing around with Rails I went through quite a few editors – since I’ve installed E I haven’t looked back. One very nice feature is that it supports TextMate bundles.
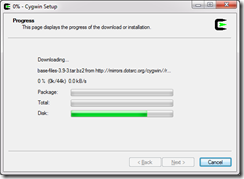
E – TextEditor is not a free application, but it’s definitely worth much more than the $35 price tag. E – TextEditor uses Cygwin – you’ll be prompted to install Cygwin on the first time you run it.

Rails API Documentation
The last thing I do is to create a copy of the Rails documentation on my local machine. You can view this online, but I prefer to have a local copy. To create a local copy, open a Ruby console window (using InstantRails) and type the following commands.
rails_apps> rails dummy_app
rails_apps> cd dummy_app
dummy_app> rake rails:freeze:gems
dummy_app> echo >vendor/rails/activesupport/README
dummy_app> rake doc:rails
This last step will take a while. When it finished, you’ll have the Rails API documentation in a directory tree starting at doc/api. I usually move this to my desktop and then delete the dummy_app folder.
Happy coding.