Using Codeship for Continuous Integration
On my current project we are using Codeship as our cloud-based build server. This is my first experience with using a cloud-based build server – most of my previous experience has been with CruiseControl, TeamCity and Jenkins on a local machine.
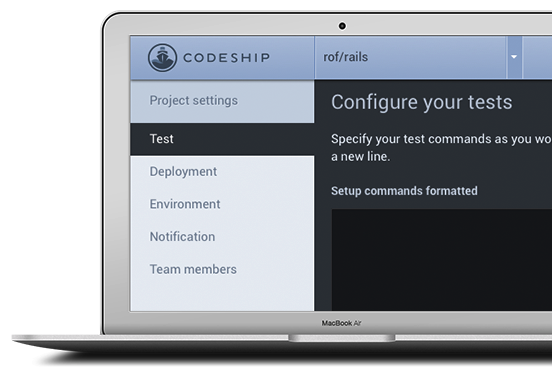
Building
Codeship is very easy to setup – you simply connect to your Github or Bitbucket account, choose your framework and specify what you want to happen on each commit. For Rails I used most of the defaults and the actual configuration took less than ten minutes.
I was very impressed that my first build actually went green! I usually find that I left out some configuration setting which fails it on the first run.
At the moment we’re only running RSpec tests on every build, but Codeship also has support for Selenium testing.
Deploying
We’re deploying to Heroku and Codeship has built-in support for this. Again, configuring an automatic deploy after every build is incredibly easy – simply configure your SSH public key and specify the name of the heroku environment you’re deploying to.
I was seriously impressed with how easy this all was to configure.
Build Pipelines
One feature that I would like to see in Codeship is build pipelines. For example, we probably want to setup another deployment environment in the future which we’ll only deploy manually – Codeship doesn’t support this. If you need multiple environments you’ll either need to do deployments yourself – which I would think is a bad idea – or you would need to go with a different build tool.
Overall
Codeship is a great tool for a new project – getting your entire build server up and running only takes a few minutes. As you need more advanced deployment pipelines you can always move to a more advanced continuous integration solution. Happy coding.